Appearance
Uploading Custom Fonts
You can upload your own fonts to use throughout the theme. This is useful when your brand uses a specific typeface not available in Google Fonts.
Preparing Your Font Files
Before uploading, ensure your fonts are in web-compatible formats:
- Recommended:
.woff2or.wofffiles - Need to convert? Use Transfonter to convert
.ttfor.otffiles to web formats
Adding a Custom Font
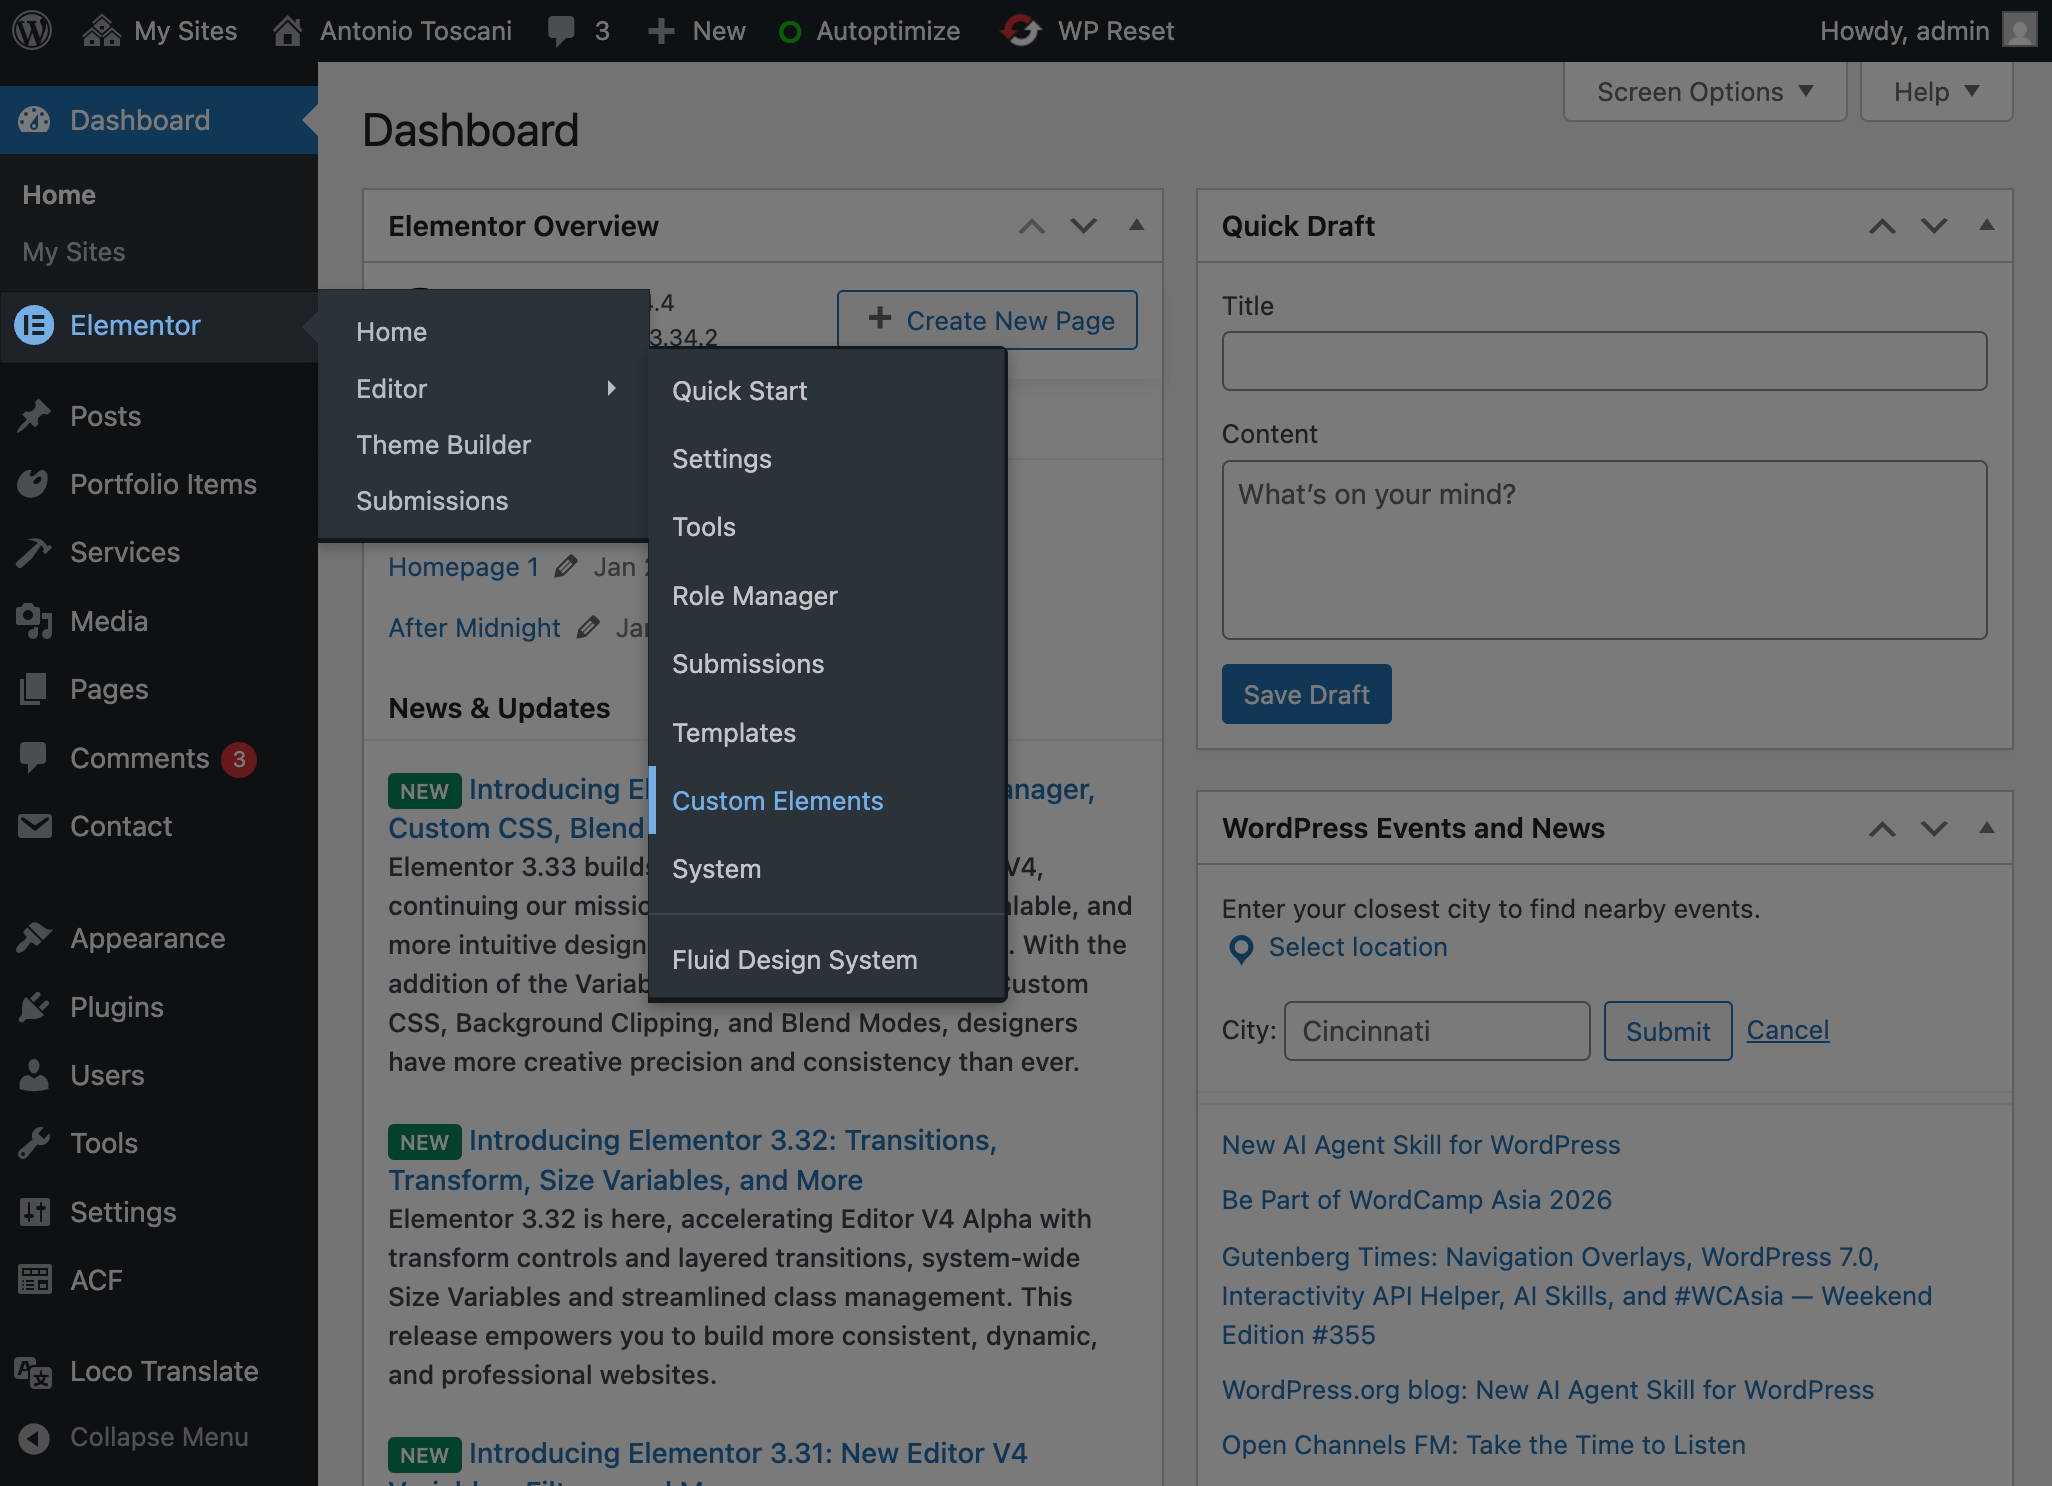
▶️ Step 1.
In the WordPress admin, hover over Elementor and select Custom Elements from the menu.
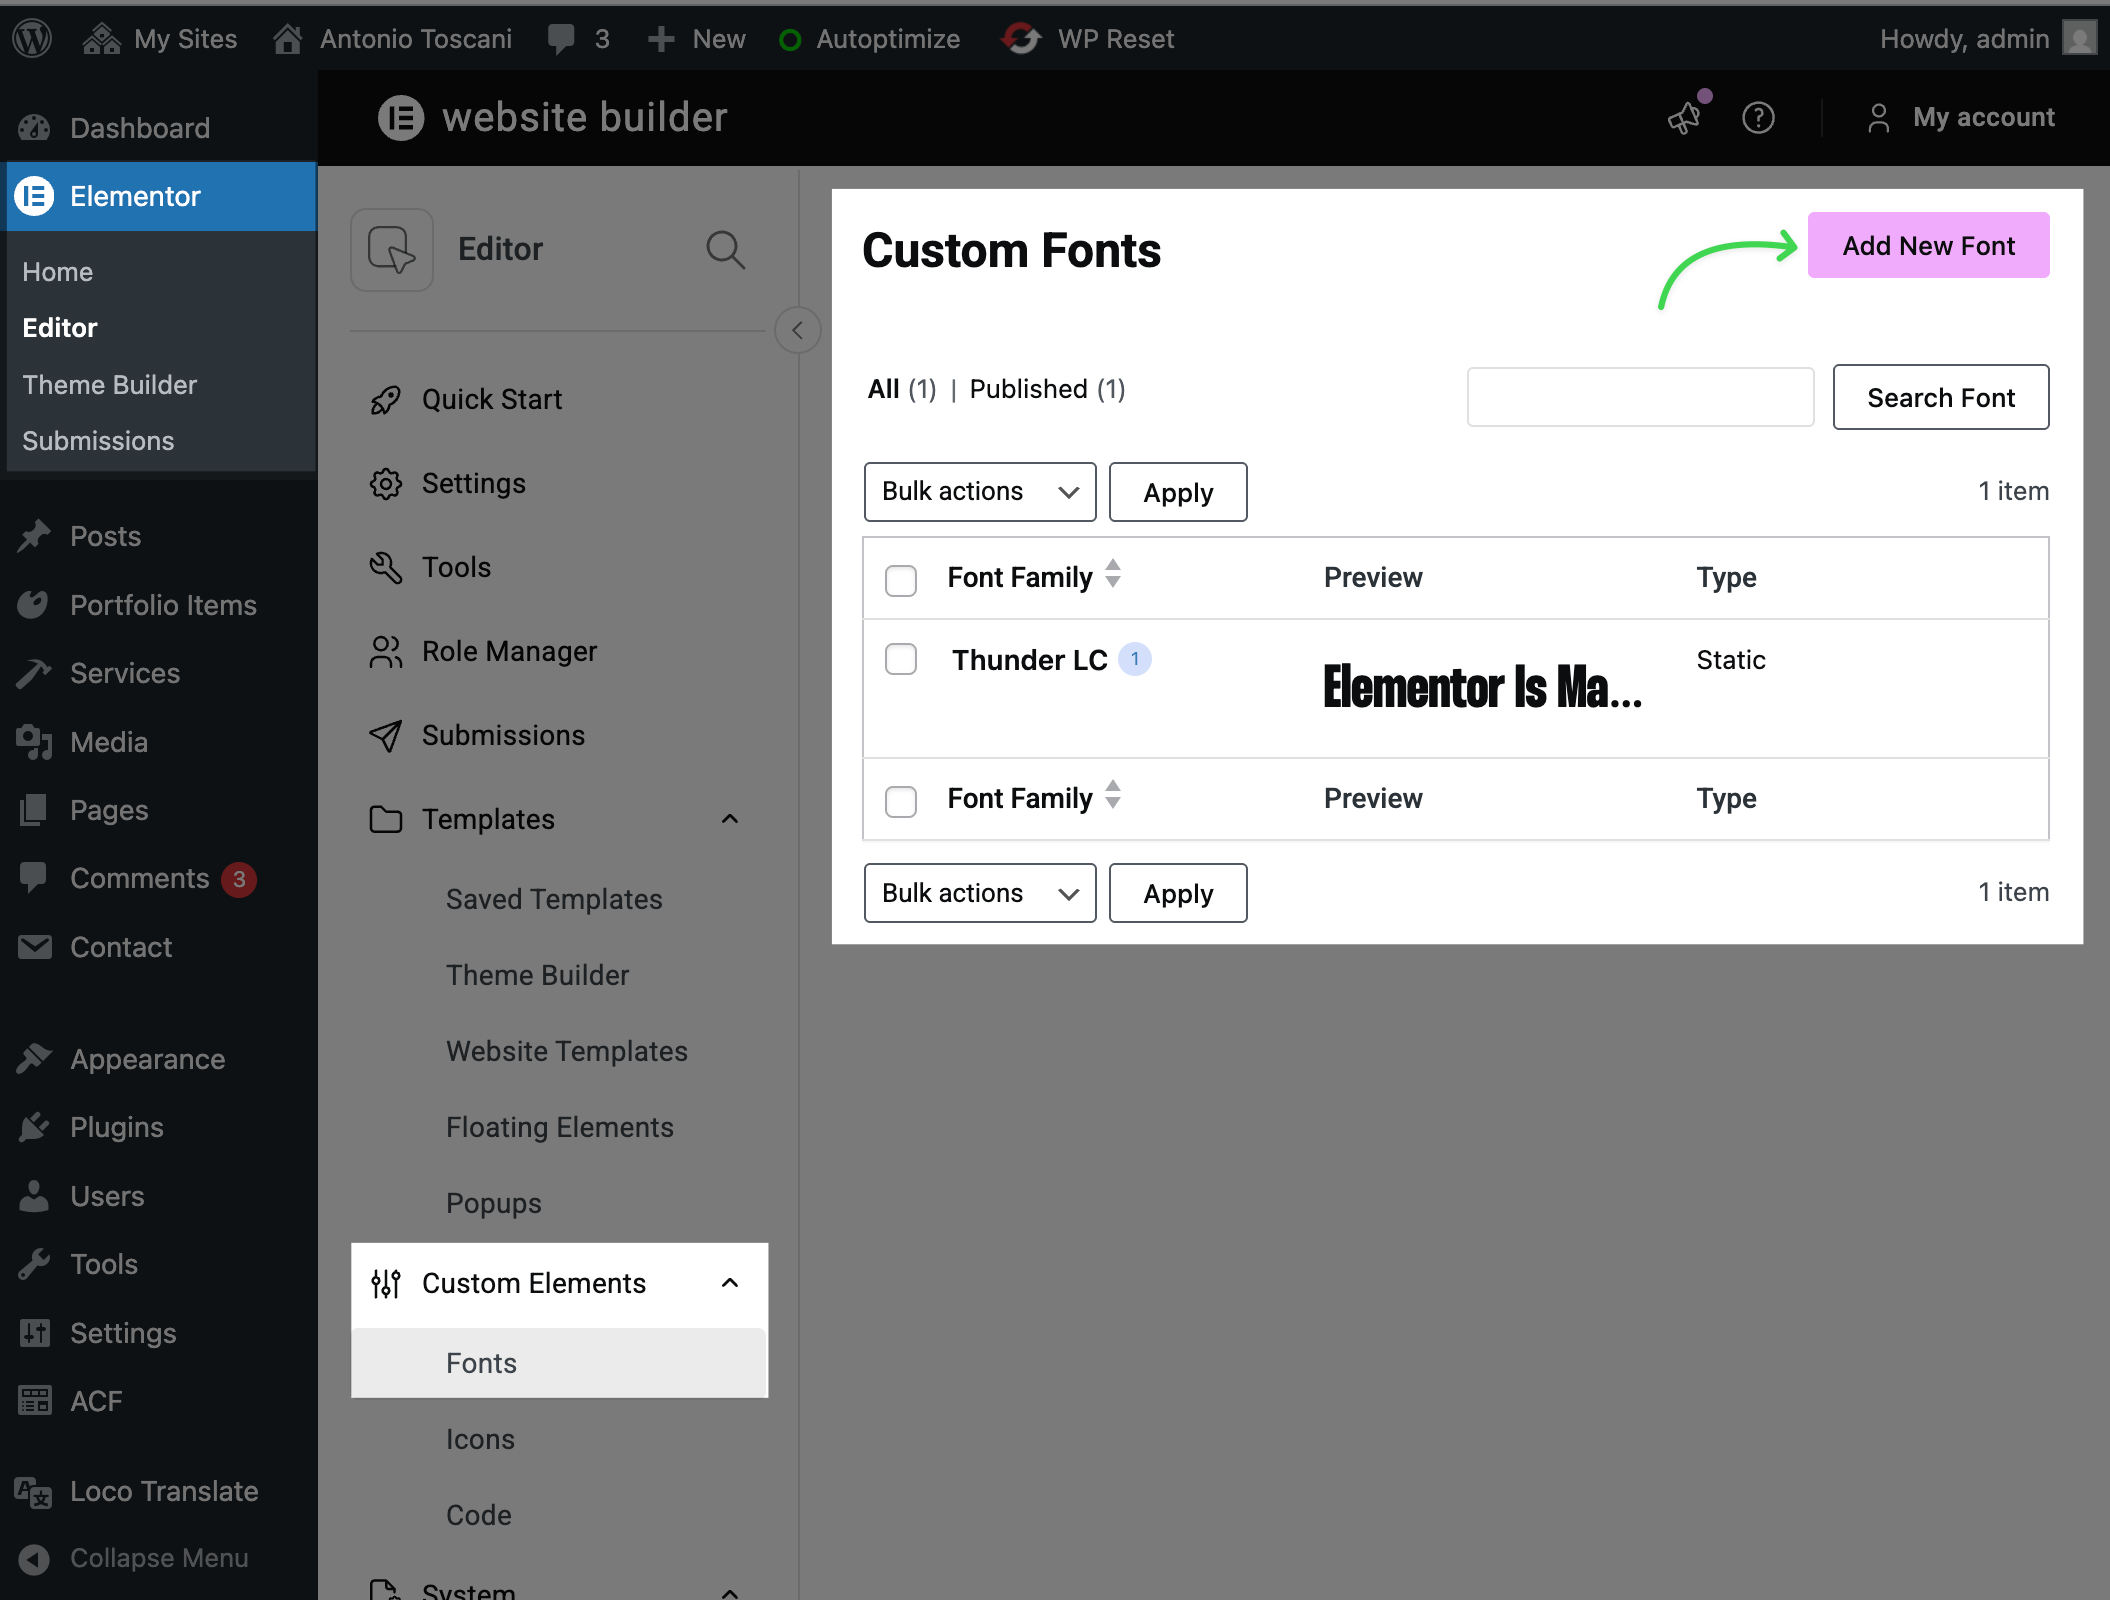
▶️ Step 2.
Go to Custom Elements → Fonts and click Add New Font.
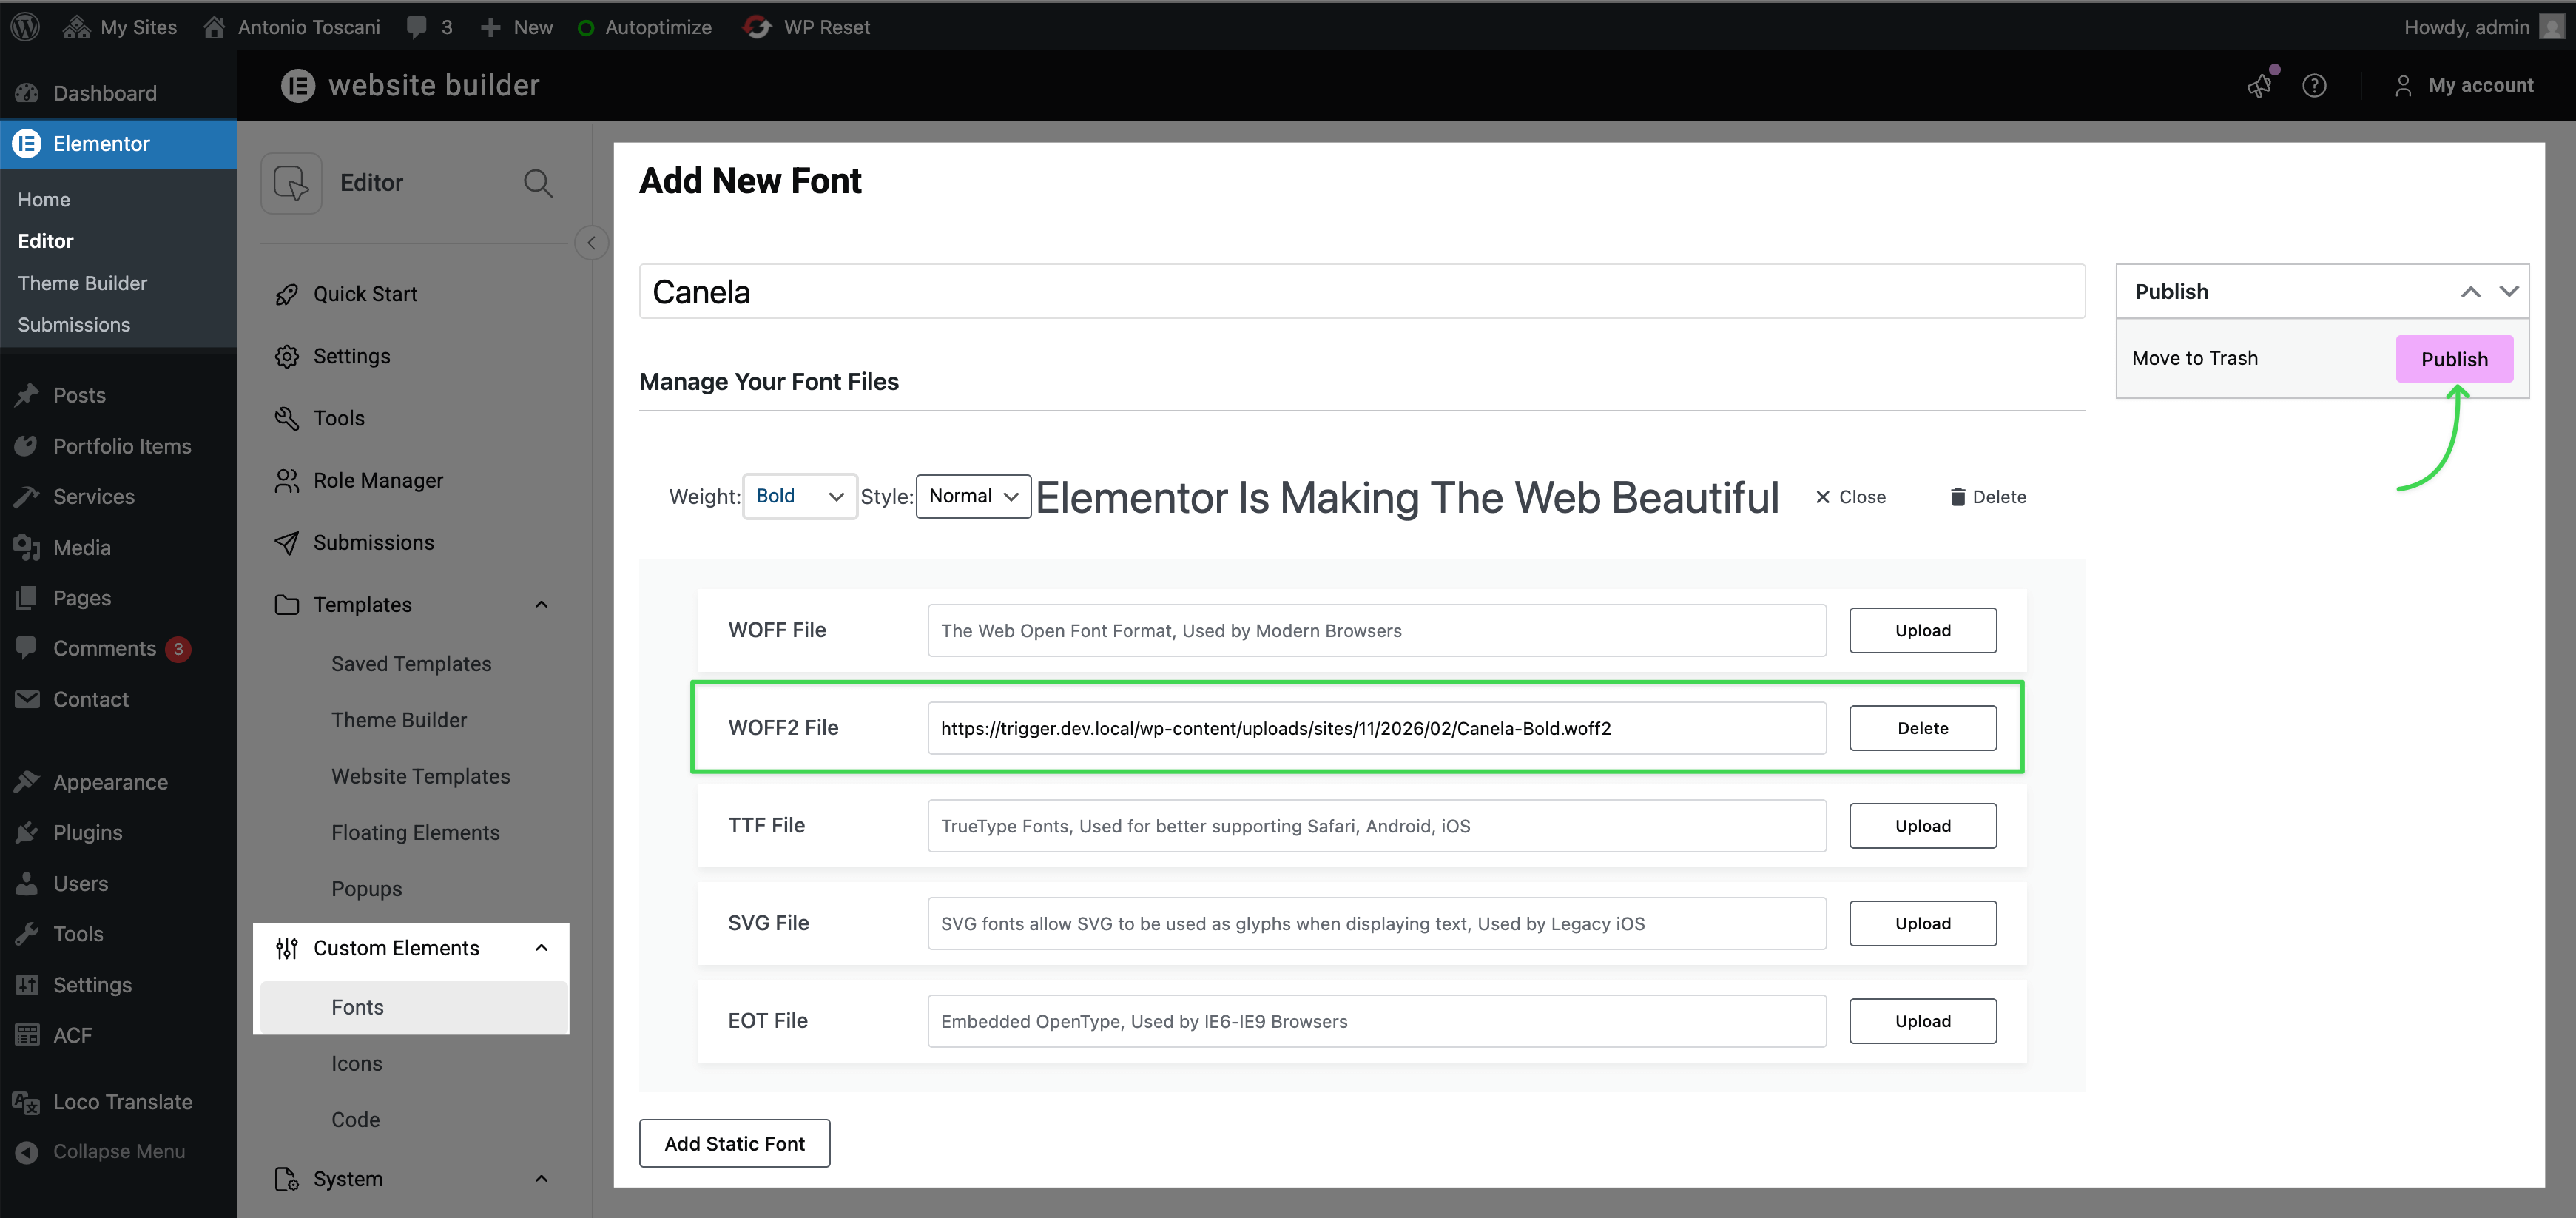
▶️ Step 3.
Name your font, upload your font files (.woff2 recommended), and click Publish. Add multiple variations for different weights if needed.
Using Your Custom Font
Your uploaded font now appears in the font family dropdown under Custom Fonts when editing any text element in Elementor.

Set as Global Font
For site-wide use, add your custom font to Global Fonts so it's easily accessible across all typography controls.