# Importing Demo Content
When you first install any WordPress theme, it will not contain all the extra content that you may have seen in the live demo.
To import the demo data, you need to make sure that you actually have it downloaded. For more information, please refer to the What’s included section.
TIP
- No existing posts, pages, categories, images, custom post types, or any other data will be deleted or modified.
- Posts, pages, images, widgets, menus, and other theme settings will get imported.
Make sure you have the set of files in the 📁Demo Content folder as follows:
📄customizer.dat📄demo-content.xml📄widgets.wie
Let’s manually install a plugin for the hassle-free demo import. It’s called One Click Demo Import (opens new window) and it's available for download from the official WordPress plugins repository.
# ▶️ Step 1.
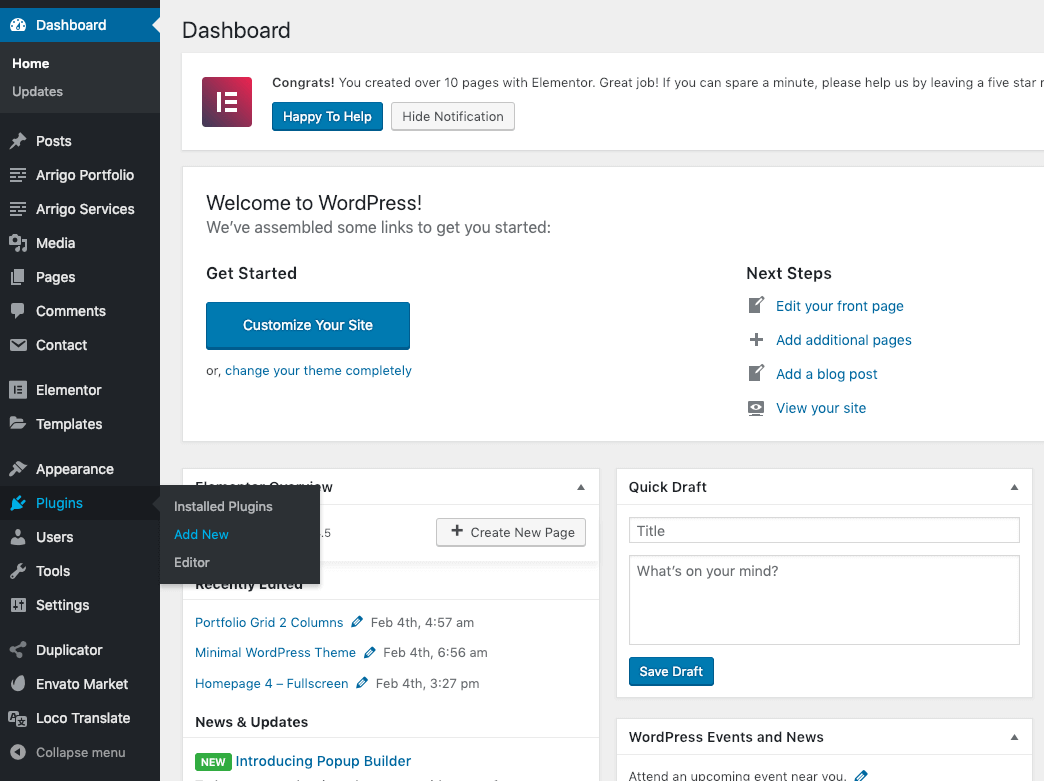
In the admin panel, go to Plugins → Add New.
# ▶️ Step 2.
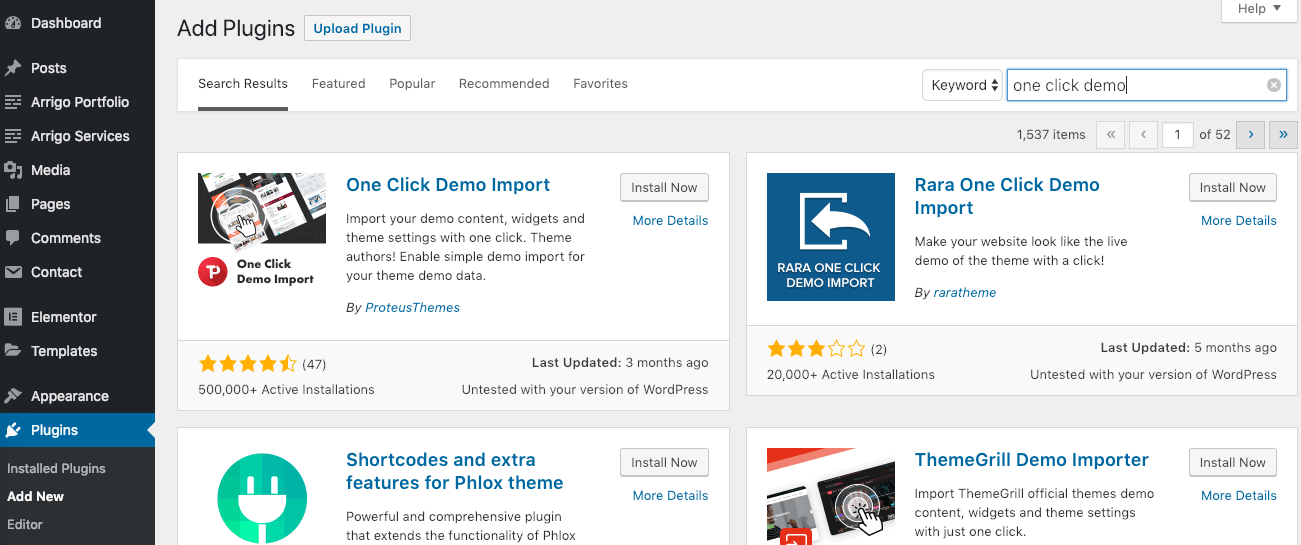
Search for keywords one click demo and click Install Now.
# ▶️ Step 3.
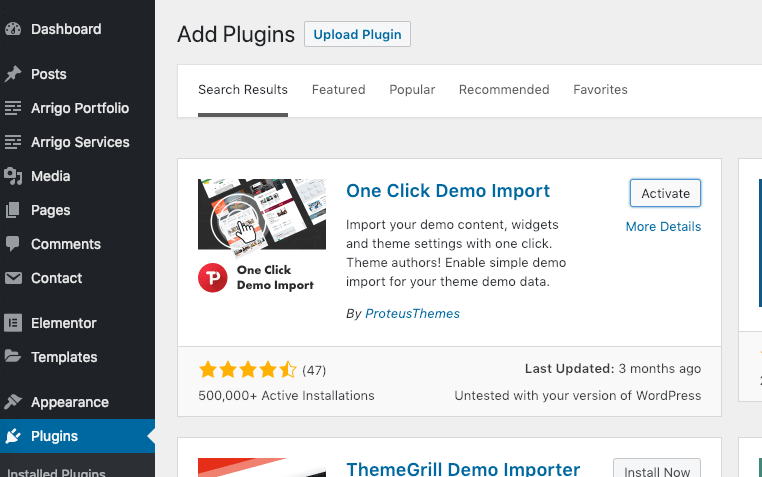
Wait until the installation is complete and click Activate.
# ▶️ Step 4.
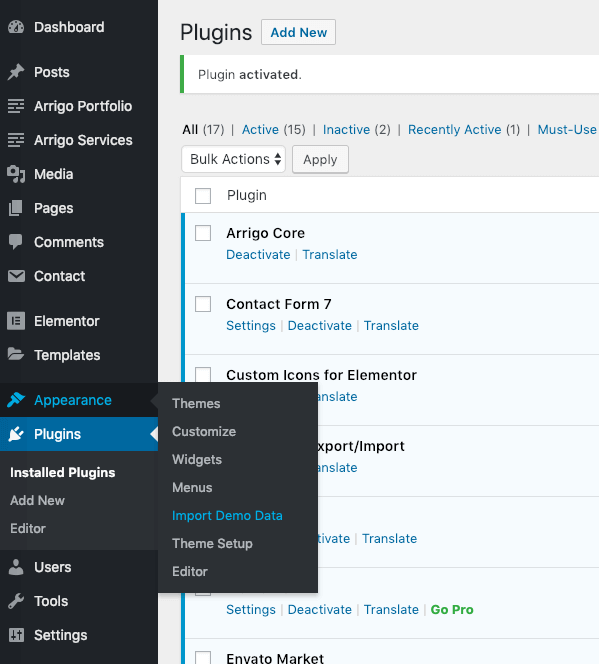
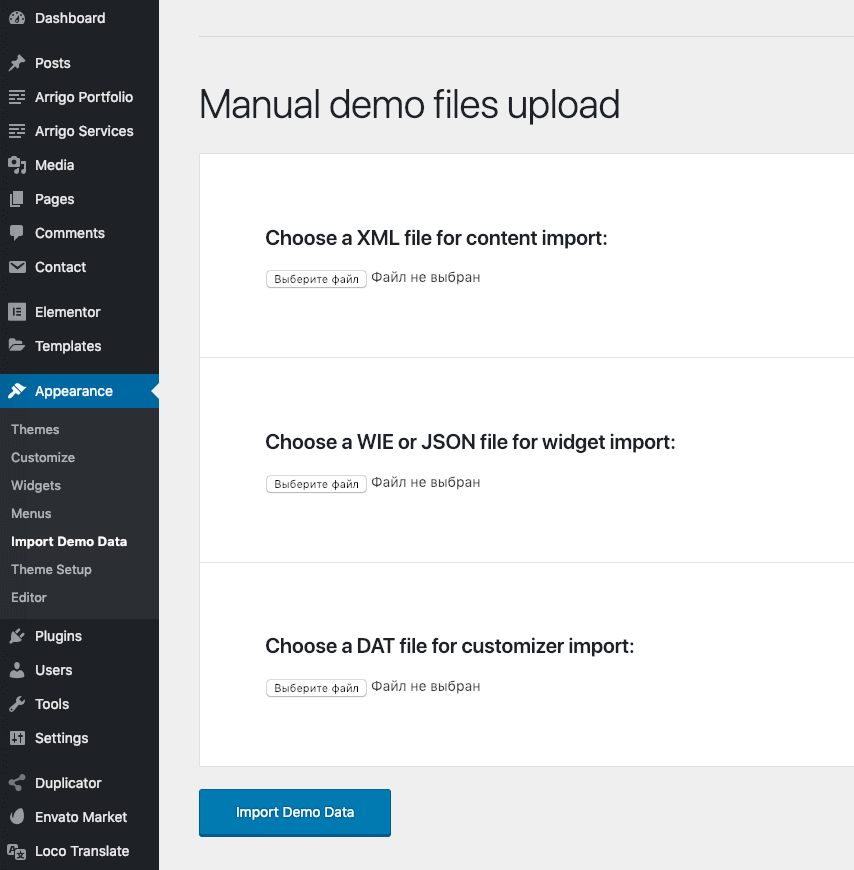
You should have a new menu item in Appearance → Import Demo Data.
WARNING
Before you start the demo import process, please make sure all the required plugins are activated. Otherwise, you may experience issues.
# ▶️ Step 5.
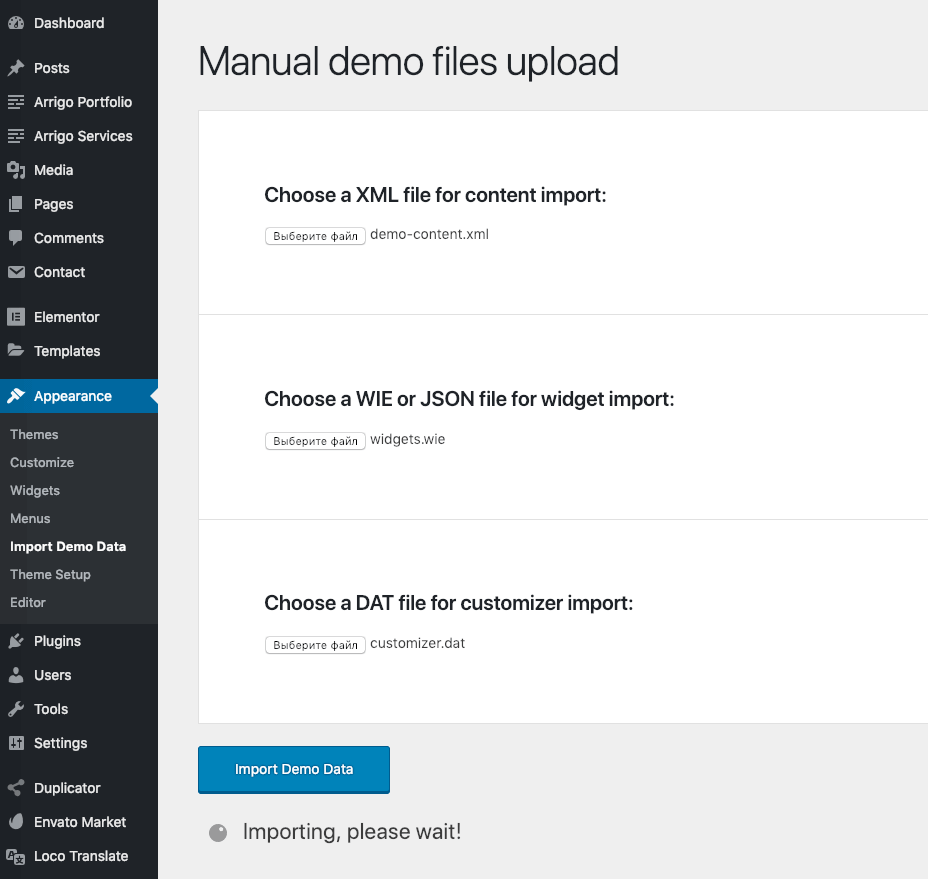
Choose the 3 demo files according to the screen sections from your .zip package in the 📁Demo Content folder.
# ▶️ Step 6.
Now wait until the demo import is finished. Don’t close or refresh this page during the active import process!
Demo import fails or takes too long?
90% of problems with demo import are due to low PHP configuration limits on your server hosting. To check your current PHP environment, please refer to the Troubleshooting article.