# Customizing Typography
Cassio supports rich typography customization options. You can select from over 900 Google Fonts (opens new window) available in the WordPress Customizer panel and tailor every typography element in the theme, such as headings <h1> – <h6>, paragraphs <p>, and blockquotes <blockquote>.
# Choosing Fonts
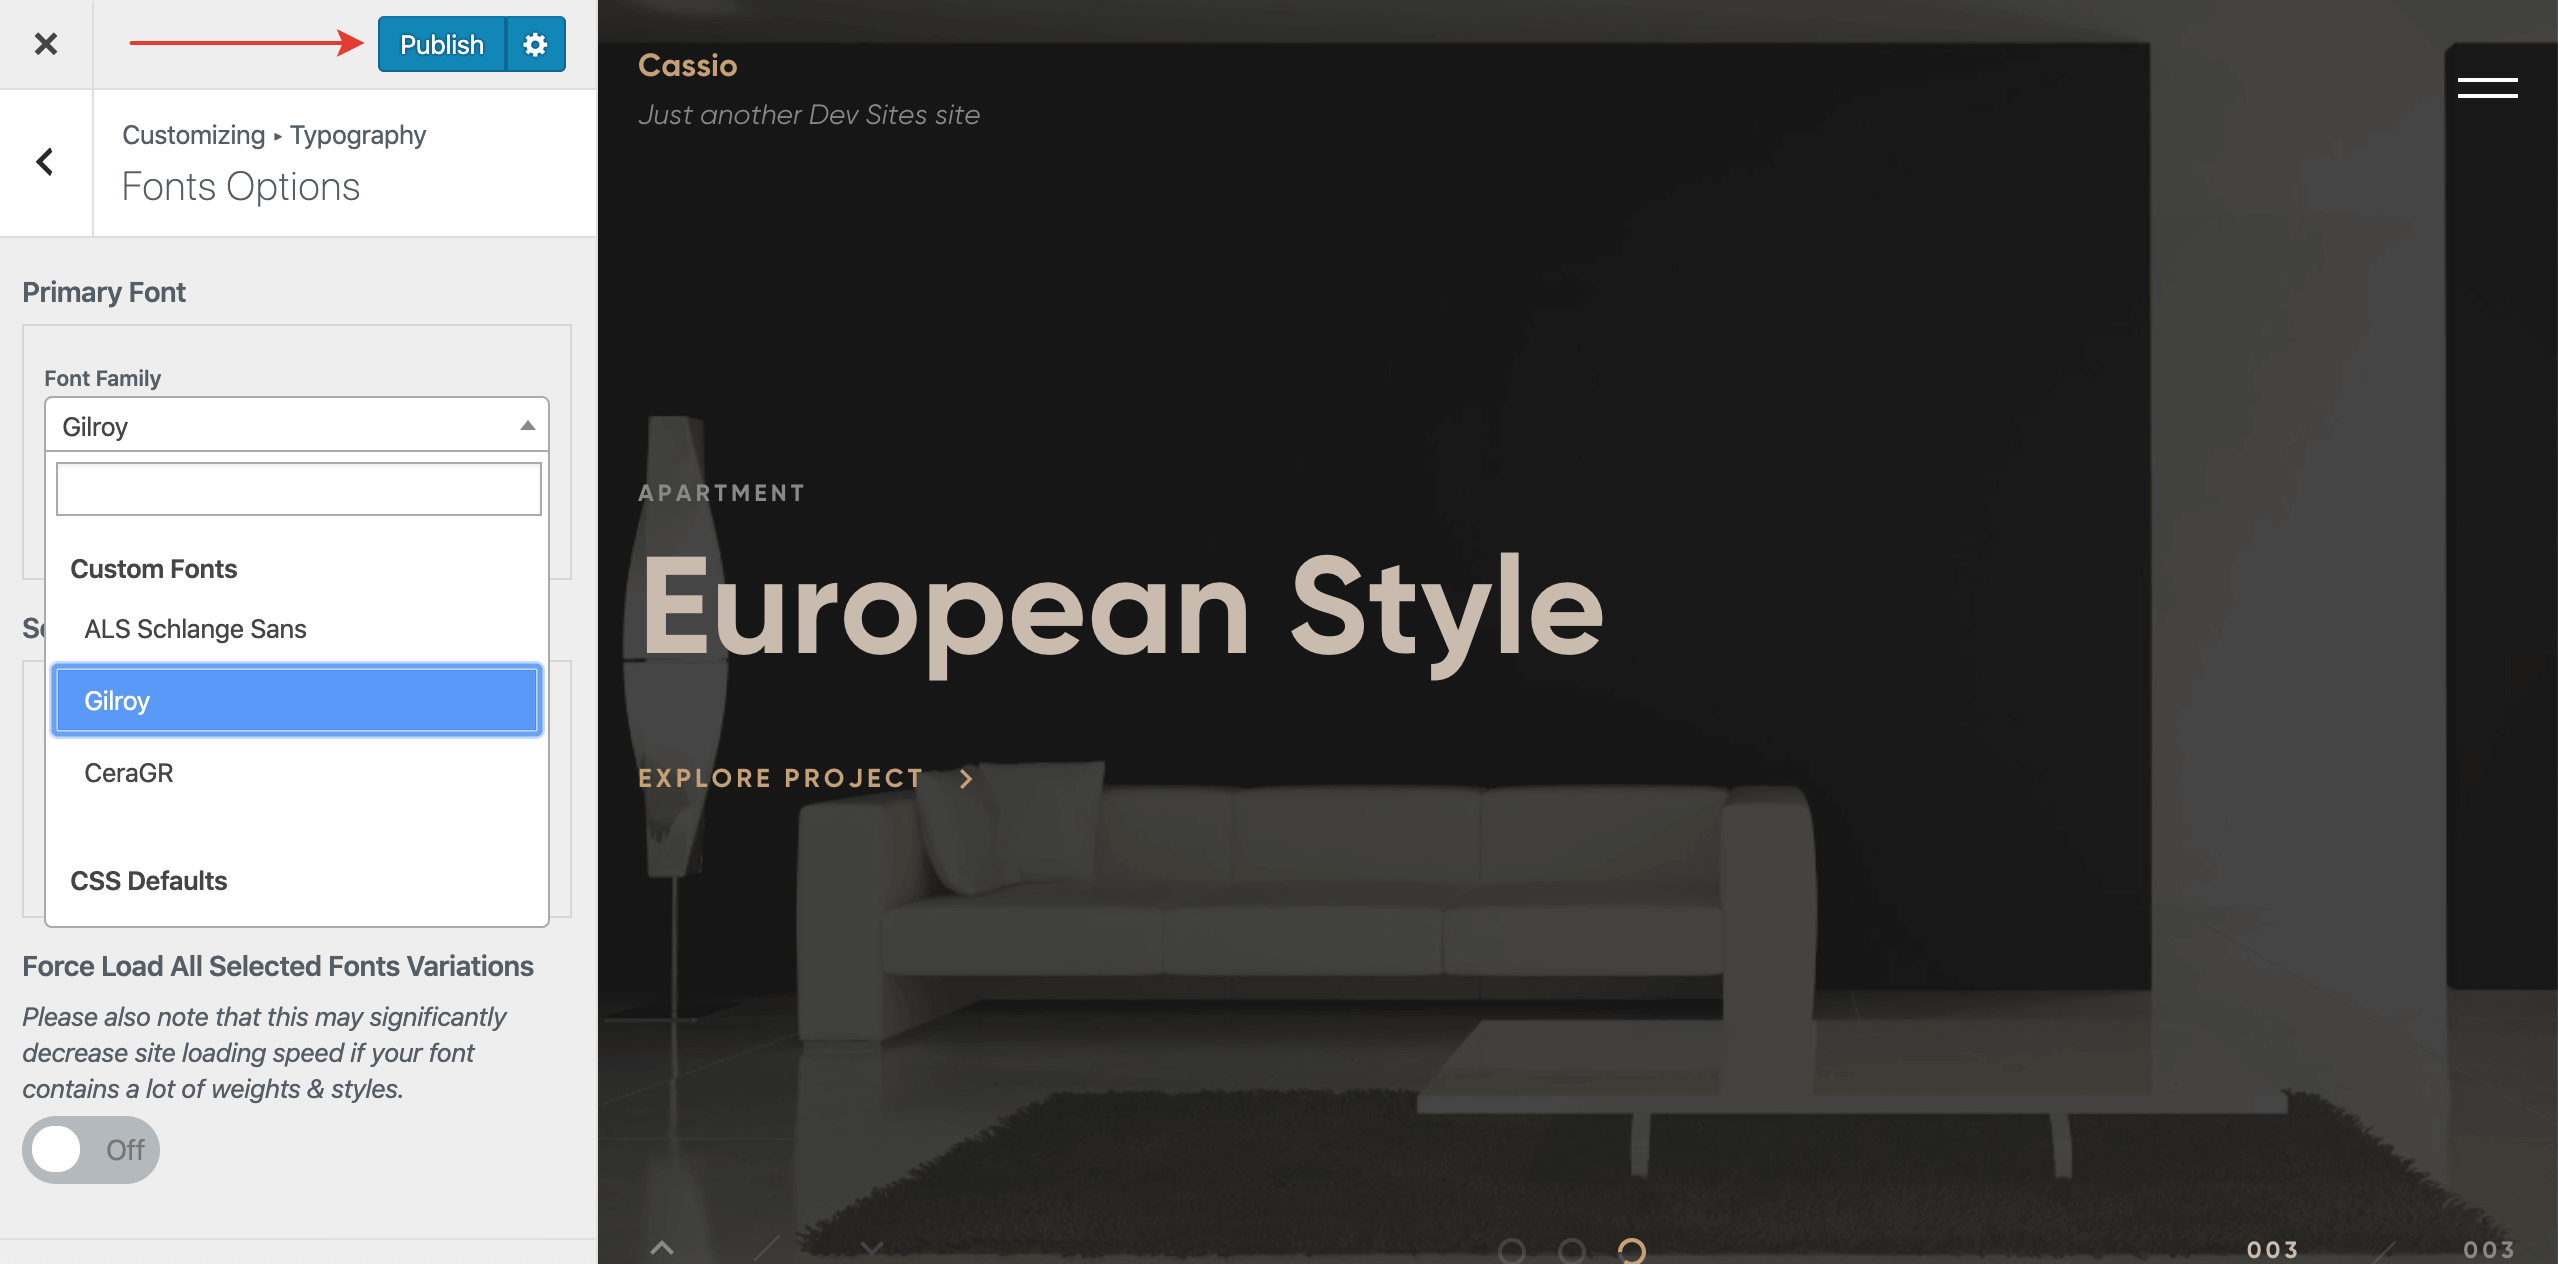
In the WordPress Customizer, navigate to Customizer → Typography → Fonts Options.

# Adjusting Font Sizes
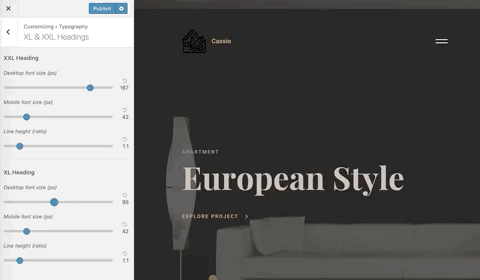
Cassio supports the fluid typography (opens new window) feature, which enables smooth font scaling across all screen sizes. Simply set minimum and maximum font sizes for desktop and mobile. The theme will handle the rest. You can tweak typography sizing in Customizer → Typography.
# Using Adobe Typekit
The theme supports integration with the Custom Adobe Fonts (opens new window) plugin. This enables you to use your Adobe Typekit fonts in the theme. To make this plugin work, you need to get the Project ID from Adobe Fonts (opens new window).
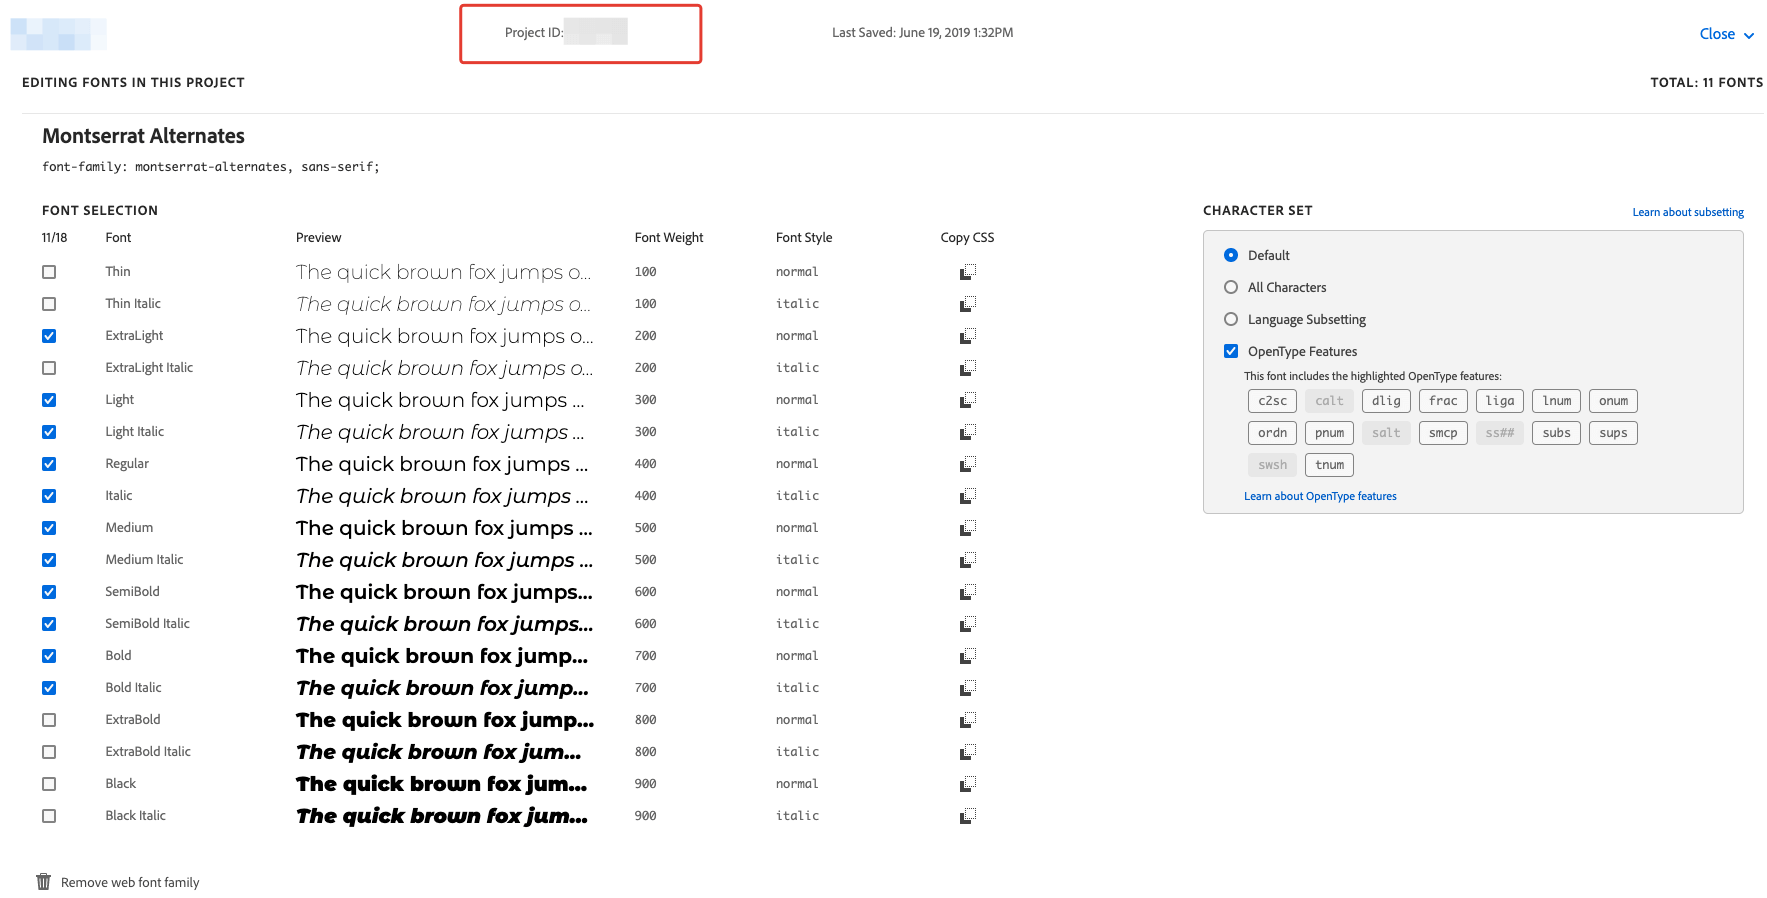
Project ID from the project page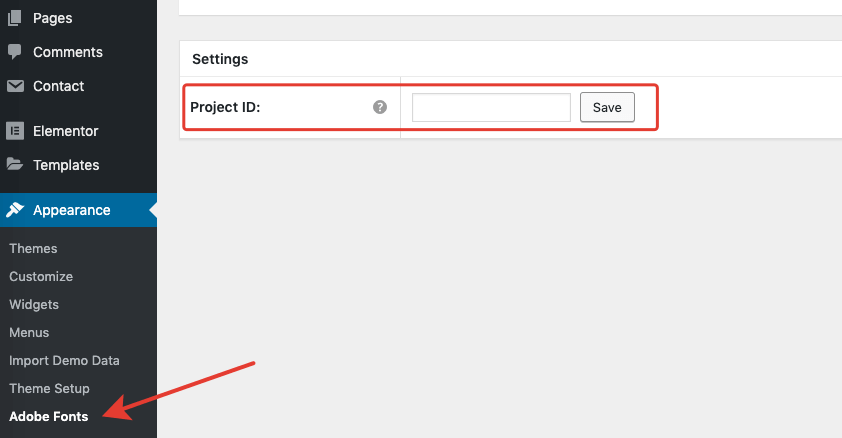
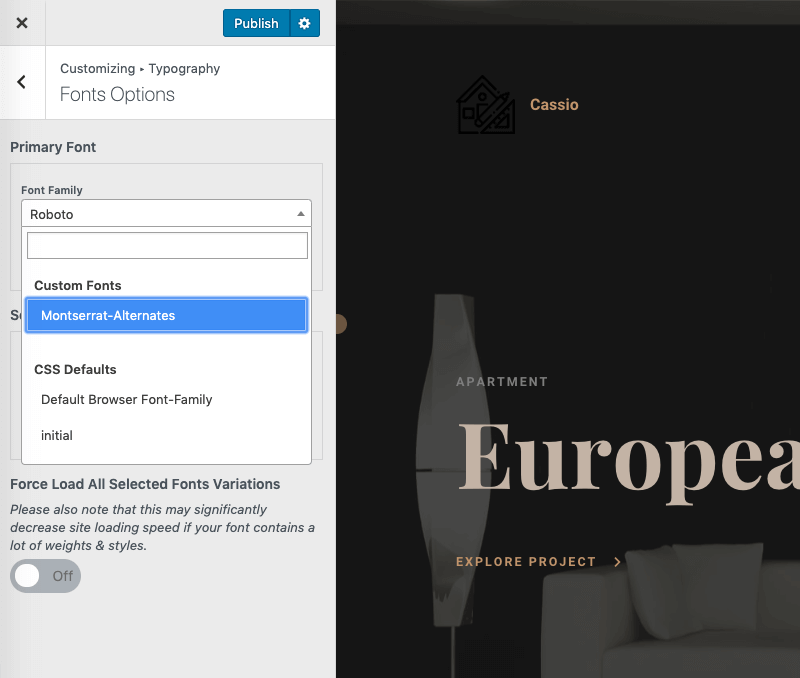
Appearance → Adobe FontsIf you've done everything correctly, a new font name should appear in the font selectors in WordPress Customizer → Typography → Fonts Options.
# Uploading Custom Fonts
In the Cassio theme, you can also upload and use your own fonts. This feature is available in the Custom Fonts options page in the admin panel. Let's go through the font uploading process step-by-step.
# Step 1
Before uploading the fonts to your website, ensure they are ready for use on the web. The theme supports popular .woff and .woff2 web-font formats. If your font package is missing files with those extensions (e.g., you only have .ttf or .otf files), you will need to convert the font files to .woff format. Otherwise, you can skip this step.
A handy free online tool called Transfonter (opens new window) allows you to convert fonts to web-compatible formats.
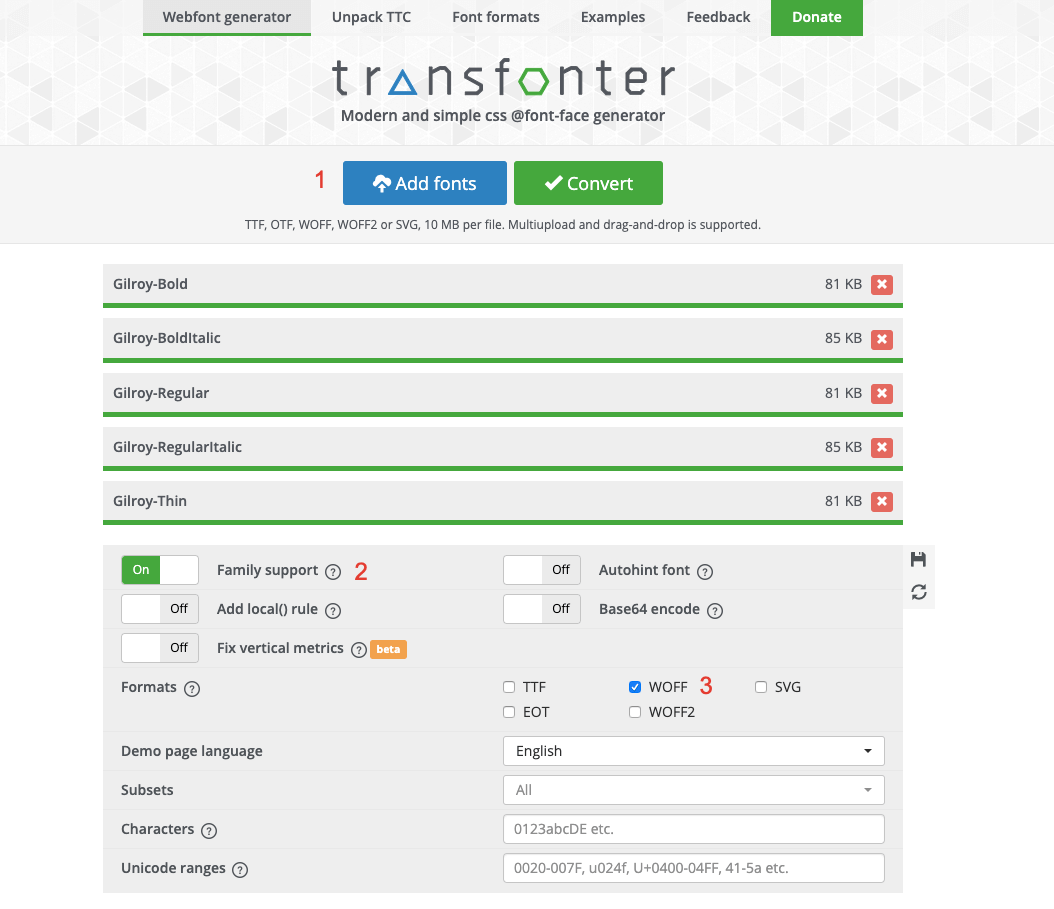
Family support is on and the woff format is selected.TIP
woff is a universal format supported across many modern browsers, so it's recommended. You can read more about different font formats on the Font formats (opens new window) page.
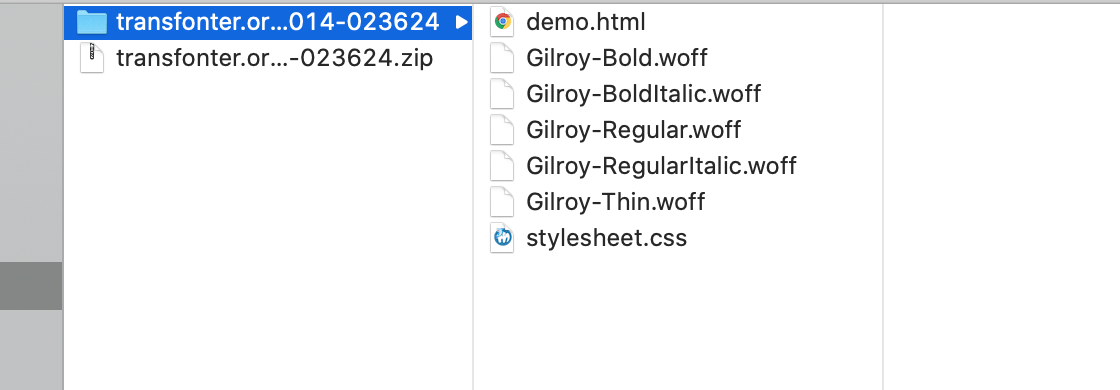
Click the Convert button. You should get a download link with a .zip archive of your font package.
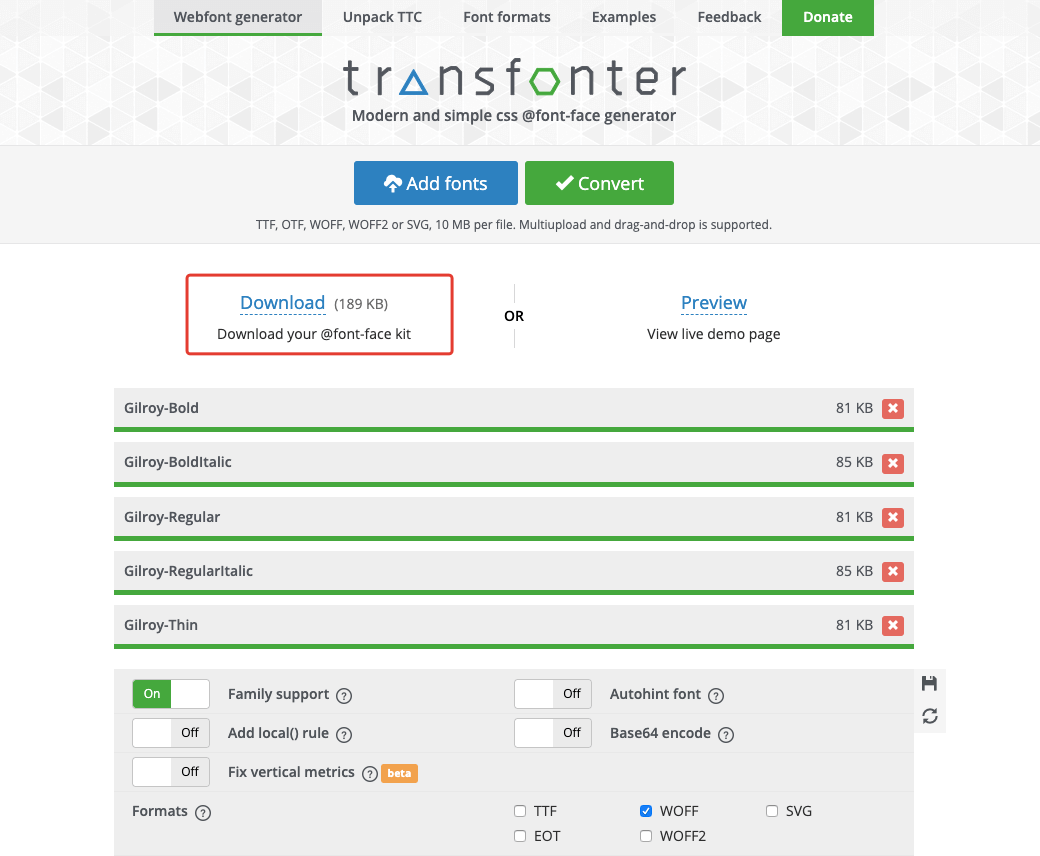
Unzip the archive and ensure that the .woff font files are there.
# Step 2
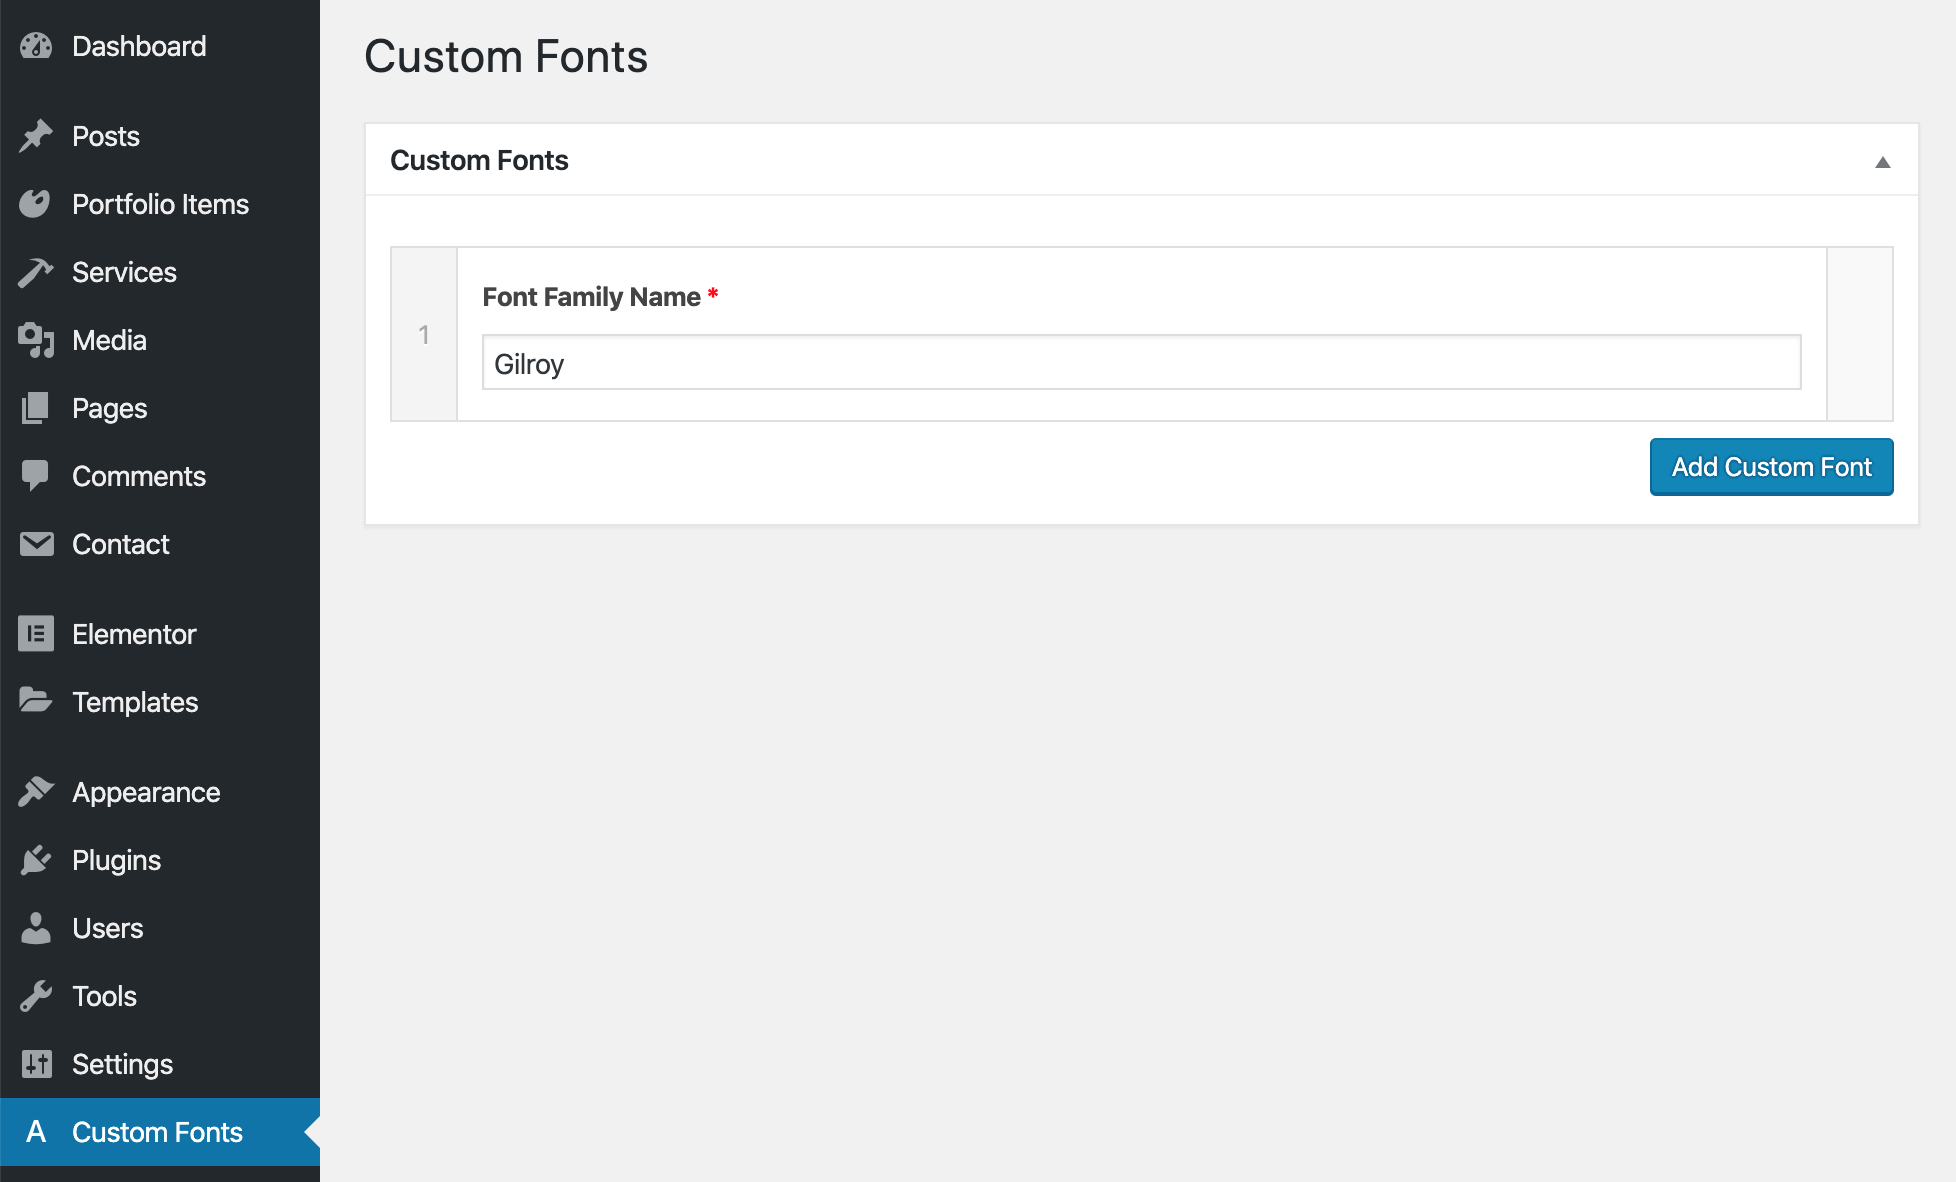
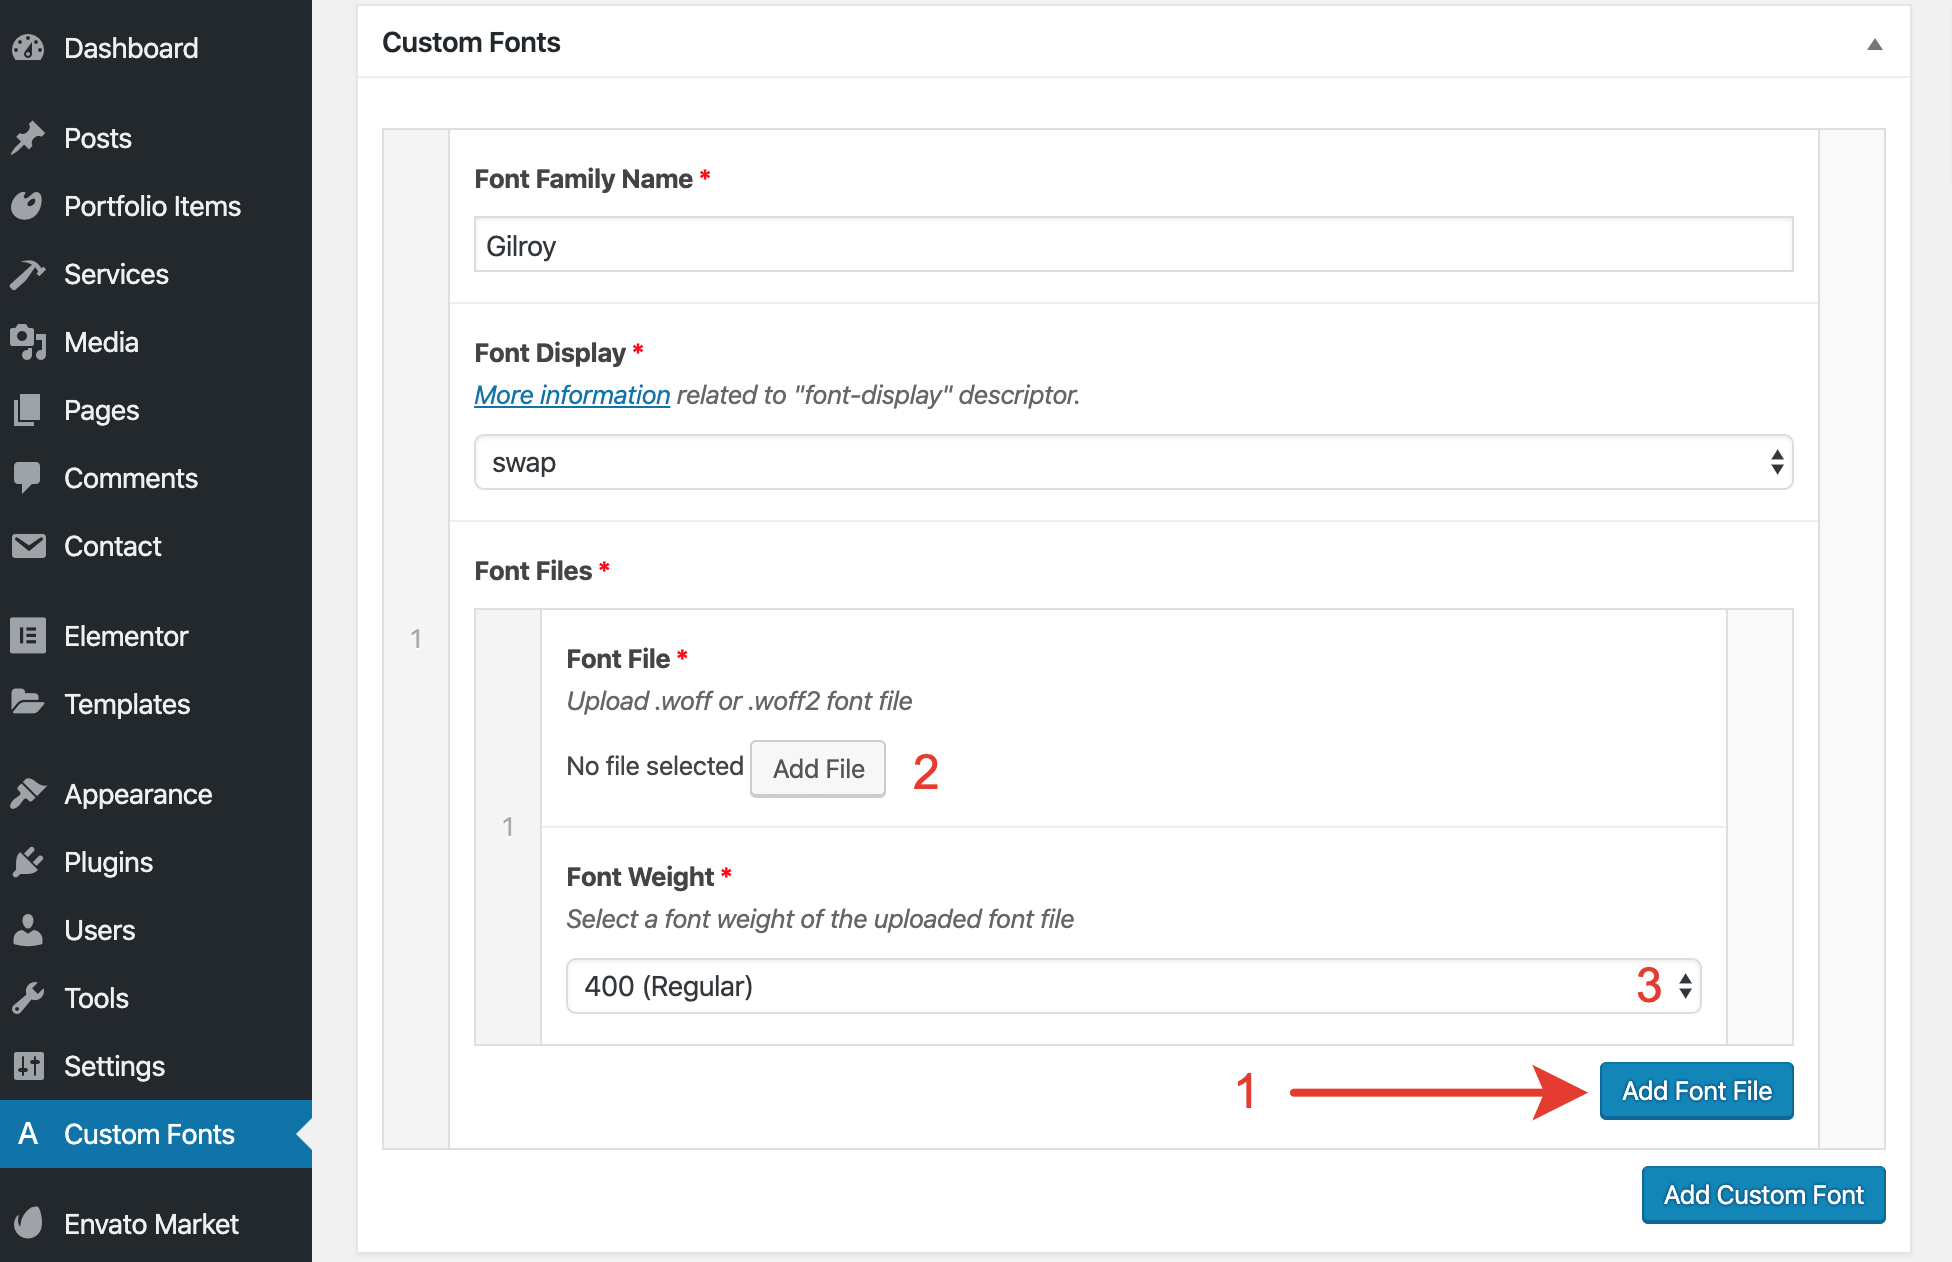
Go to the Custom Fonts options page in the admin panel. Click on the Add Custom Font button and enter your font name. In this example, the font is named "Gilroy."
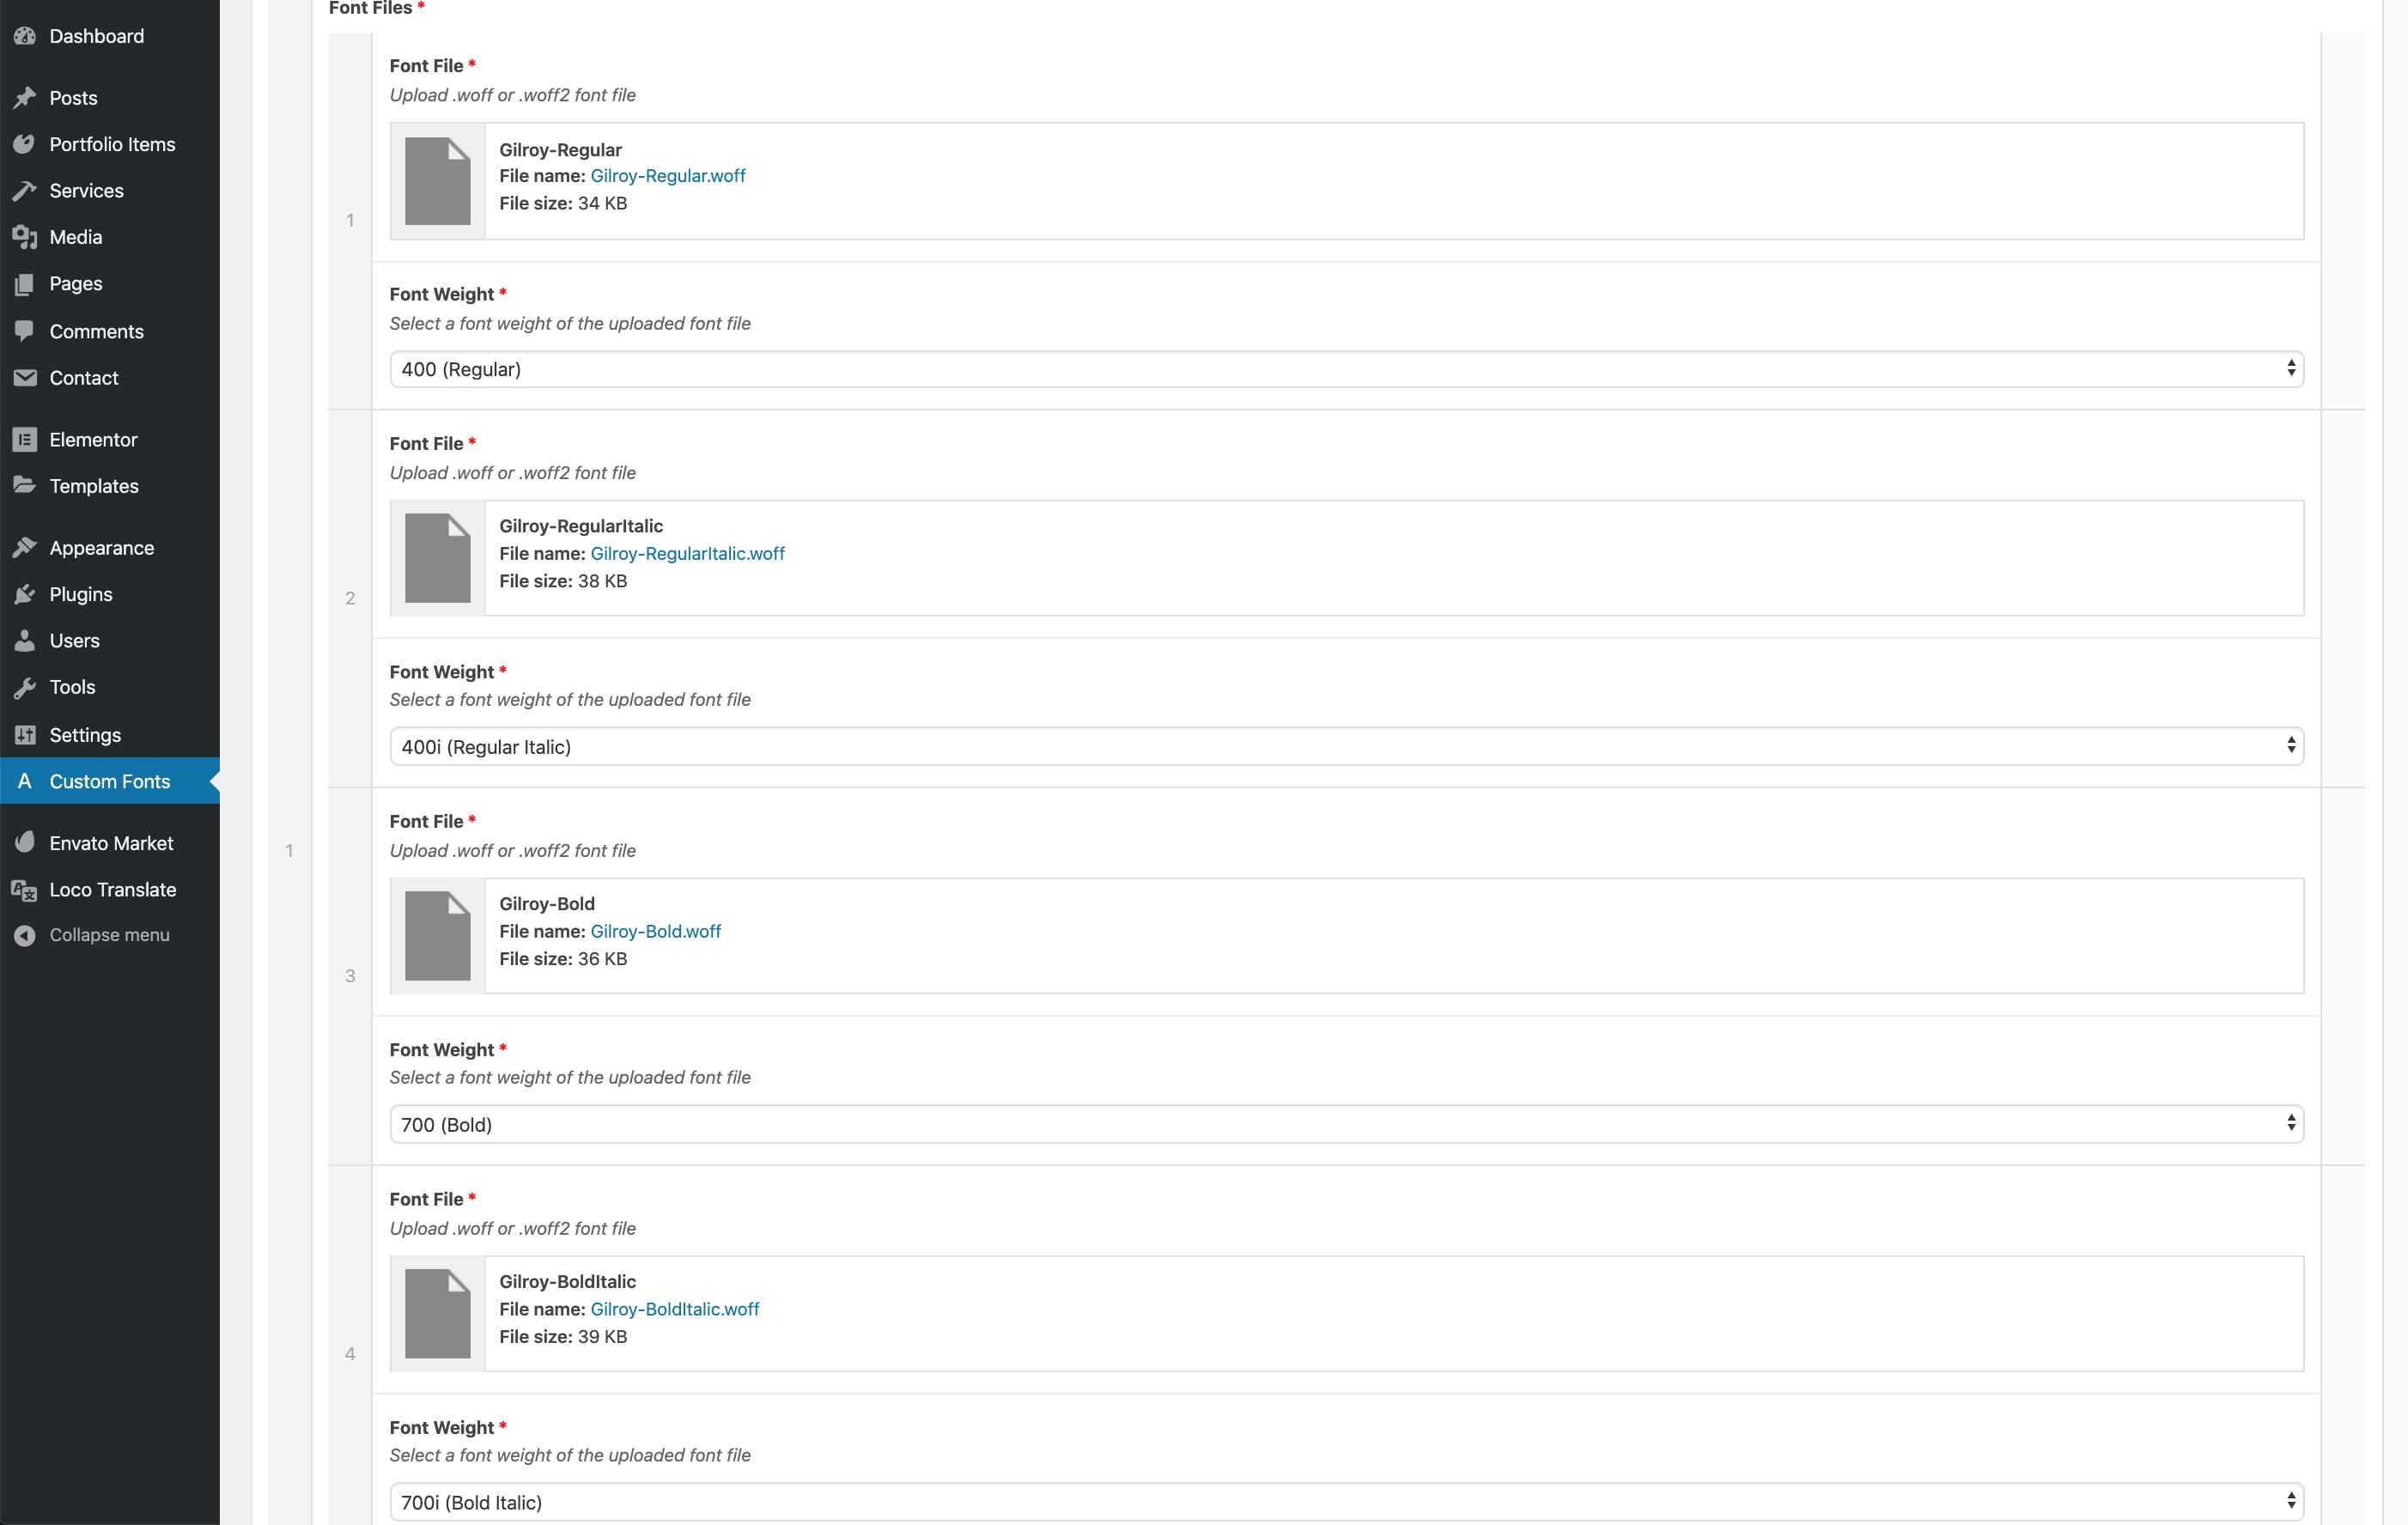
Now you need to upload your .woff font files to WordPress and select the appropriate font weight for the uploaded file.
TIP
Cassio uses the following font weights for typography styling:
- 100 (Thin)
- 400 (Regular)
- 400i (Regular Italic)
- 700 (Bold)
- 700i (Bold Italic)
It's recommended to upload and assign all of these font weights properly.
The process of uploading other font weights is the same: Add Font File → Upload .woff File to Media Library → Select Font Weight → Repeat.
After you are done, click the Save Changes button in the top right corner. You should get a message inviting you to go to the WordPress Customizer.

# Step 3
Open the WordPress Customizer and go to Typography → Fonts Options. In the dropdown list, you should see your new font name under Custom Fonts. The custom font is now available to select and preview live. Don't forget to click Publish to save changes.